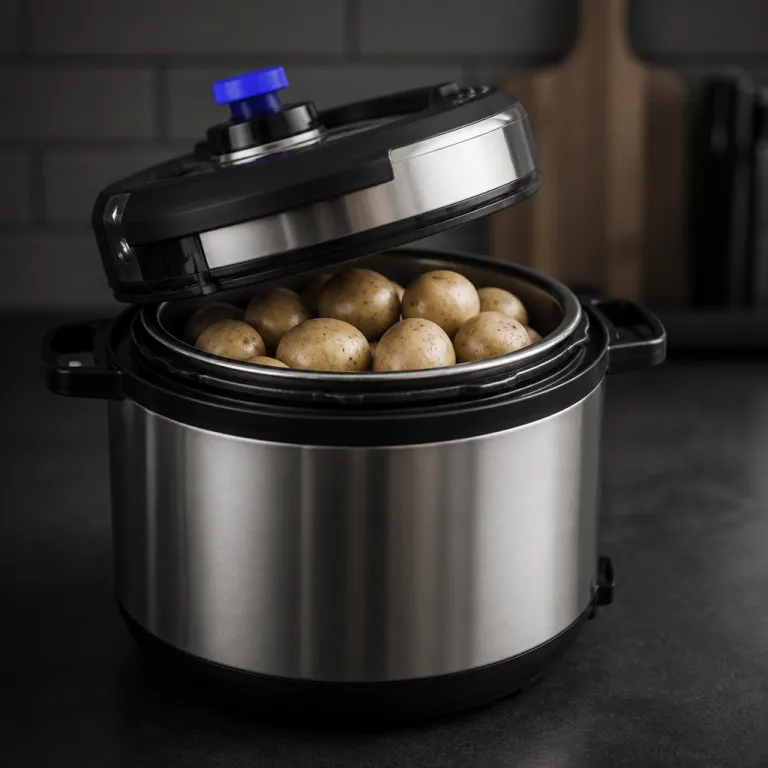
Why pressure cooking potatoes beats boiling on the stove
Learning how to pressure cook potatoes transforms weeknight dinners and batch cooking. By using an electric pressure cooker instead of traditional boiling, you cut cooking time to just a few minutes while keeping nutrients and flavour inside the pot. This method works for every potato style, from simple boiled potatoes to fluffy baked potatoes and silky mashed potatoes.
When you cook potatoes in a sealed pressure cooker, the trapped steam reaches high pressure and raises the boiling point of water. That higher temperature means the cooking time in minutes drops dramatically, yet the potato texture stays tender rather than waterlogged from long boiling. Compared with a saucepan of water on the hob, pressure cooking uses less water, less energy, and gives more consistent results across different potato sizes.
For people using an Instant Pot or any modern electric cooker, the process is straightforward and easy to repeat. You add water to the inner pot, place potatoes on a trivet or directly in the water, then set the cook time in minutes according to the size of potatoes you have. Once the high pressure phase ends, you choose either a quick pressure release or a natural pressure release, which will slightly change the final texture of each potato.
Choosing the right potatoes and cutting size for pressure cooking
The type of potato you choose has a direct impact on how to pressure cook potatoes successfully. Starchy russet potatoes are ideal for baked potatoes and mashed potatoes, while waxy baby potatoes hold their shape better for salads or side dishes. If you mix different size potatoes in one recipe, the smallest pieces may overcook before the largest ones become tender.
For even cooking time, aim to cut each potato into similar pieces measured in both length and thickness. Whole baby potatoes that weigh about 50 to 70 grams each usually need only a short cook time, while large russet potatoes can require several more minutes at high pressure. When you plan a recipe that combines potatoes with chicken or other proteins, matching the size of potatoes to the meat pieces helps everything finish at the same time on the minutes setting.
Leaving the skin on protects the potato flesh during pressure cooking and reduces the risk of mushy results. Peeled chunks cook faster in water but can break apart if the cook time is too long or the pressure release is too aggressive. For readers who like precise timing, you can pair your potato cooking time charts with reliable vegetable guides such as a dedicated resource on how long to steam broccoli for bright tender results every time, then adjust minutes slightly for your own cooker.
Step by step method: how to pressure cook potatoes in an electric cooker
To master how to pressure cook potatoes, start by preparing the pot correctly. Place the inner pot in your electric pressure cooker, then pour in 250 to 500 millilitres of cold water depending on the total weight of potatoes you plan to cook and the size of your model, such as a 3, 6, or 8 quart cooker. The water is essential because pressure cooking relies on steam, and without enough water the cooker will not reach high pressure safely.
Next, decide whether you want the potatoes to steam on a trivet or sit directly in the water. For baked potatoes or potatoes you plan to turn into mashed potatoes, set a metal trivet in the pot and arrange whole russet potatoes on top in a single layer. When you prefer softer boiled potatoes for mashing, you can place peeled chunks directly into the water, which will slightly shorten the cooking time in minutes needed at high pressure.
Close the lid, set the valve to sealing, and select the pressure cook or manual programme on your Instant Pot or similar cooker. Choose high pressure, then adjust the cook time based on potato size, usually between 4 and 12 minutes for most recipes. Always respect the maximum fill line and keep hands and face away from the steam vent when releasing pressure. When the timer beeps, you can either use a quick pressure release for firmer potato texture or allow a natural pressure release for 5 to 10 minutes, which will gently finish the cooking without breaking the skins; for even better flavour, many cooks follow the sauté first rule because browning before pressure cooking changes everything when you later add potatoes to stews.
Timing guide: from baby potatoes to baked potatoes
Precise timing is the heart of understanding how to pressure cook potatoes with confidence. Whole baby potatoes about 3 centimetres wide usually need 4 to 6 minutes at high pressure, followed by a quick pressure release to keep their skins intact. If you cut those same baby potatoes into halves or quarters, you can reduce the cook time to around 2 to 4 minutes, always checking one piece with a fork after pressure release.
Medium waxy potatoes cut into 2 to 3 centimetre chunks behave differently from large russet potatoes used for baked potatoes. Chunks typically require 5 to 7 minutes of pressure cooking time, while whole russet potatoes weighing 200 to 300 grams each often need 10 to 14 minutes at high pressure plus a short natural pressure release. When you want classic baked potatoes from a pressure cooker, you pressure cook the potato first, then finish it under a grill or in a very hot oven for a few minutes to crisp the skin.
Use this quick reference table as a starting point and adjust slightly for your own cooker and preferred texture:
Pressure cooker potato timing chart (high pressure)
| Potato type and size | Cook time | Release method |
|---|---|---|
| Baby potatoes, whole (≈3 cm) | 4–6 minutes | Quick release |
| Baby potatoes, halved or quartered | 2–4 minutes | Quick release |
| Medium potatoes, 2–3 cm chunks | 5–7 minutes | Quick or natural release |
| Large russet potatoes, whole (200–300 g) | 10–14 minutes | 5 minutes natural release |
| Mashed potatoes texture | Add 1–2 minutes | Match base method |
Water, pressure release, and avoiding common texture problems
Water level, pressure release style, and resting time all influence the final texture when you pressure cook potatoes. Too little water in the pot can cause scorching and prevent the cooker from reaching high pressure, while too much water can leave you with soggy boiled potatoes instead of fluffy pieces. A good rule is to use at least 250 millilitres of water for small recipes in a compact cooker and up to 500 millilitres for larger batches of potatoes in a standard 6 or 8 quart model.
The choice between quick pressure release and natural pressure release changes how the starch inside each potato sets. A fast pressure release stops the cooking time almost immediately, which helps keep baby potatoes firm and ideal for salads or side dishes where you want clean slices. Allowing a natural pressure release for 5 to 10 minutes lets the pressure drop slowly, which will gently finish the cooking and is excellent for mashed potatoes or baked potatoes where a softer interior is welcome.
Use this short troubleshooting checklist if the texture is not quite right: if potatoes are mushy or falling apart, reduce the cooking time by 1 or 2 minutes, cut pieces slightly larger, or switch to a waxy variety; if potatoes are undercooked in the centre, increase the time in small increments or choose smaller potatoes; and if the texture is gluey after mashing, handle russet potatoes gently and avoid overmixing with electric beaters.
Combining potatoes with meat and vegetables in one pressure cooker pot
Once you understand how to pressure cook potatoes on their own, you can confidently combine them with meat and vegetables in a single pot. The key is to balance cooking time so that chicken, carrots, and potatoes all reach tenderness at the same moment without overcooking. Using a trivet and layering ingredients above the water helps you control which parts of the recipe receive the most direct heat during pressure cooking.
For chicken and potatoes recipes, boneless chicken thighs usually need around 8 to 10 minutes at high pressure, which pairs well with medium potato chunks. Place water in the pot, add a trivet, then arrange chicken on the bottom and potatoes on top so that the potato pieces steam rather than sit in boiling liquid. After the cook time ends, a short natural pressure release of 5 minutes followed by a quick release will keep the chicken juicy and the potatoes tender enough for mashing or serving as rustic boiled potatoes.
Vegetable rich recipes benefit from staggering when you add delicate ingredients. Root vegetables and potatoes go into the cooker first because they tolerate longer cooking time, while quick cooking vegetables such as peas or spinach can be stirred in after the pressure release using the residual heat of the pot. By adjusting potato size, layering on the trivet, and choosing the right pressure release method, you will turn your electric pressure cooker into a reliable tool for easy one pot dinners that respect both flavour and texture.
Key statistics about pressure cooking potatoes
- In side by side kitchen tests reported by home economists and appliance manufacturers, pressure cooking can reduce potato cooking time by roughly half compared with traditional boiling on the stove.
- Food science research on moist heat cooking methods indicates that cooking potatoes in minimal water helps preserve vitamin C and other water soluble nutrients compared with boiling and draining a large volume of water, because fewer nutrients leach into the cooking liquid.
- Home energy monitoring data and manufacturer efficiency figures consistently indicate that an electric pressure cooker uses less electricity than an electric hob for the same batch of potatoes, because the cooker is insulated and runs for a shorter time.
- Surveys from major kitchen appliance brands report that potatoes are among the most frequently cooked ingredients in electric pressure cookers, alongside rice and chicken, making them a core ingredient in everyday pressure cooking.
FAQ about how to pressure cook potatoes
How much water should I use to pressure cook potatoes ?
Most electric pressure cooker models need at least 250 millilitres of water to reach high pressure safely. For larger batches of potatoes, increase the water to 400 or 500 millilitres in a typical 6 or 8 quart cooker, but do not exceed the maximum fill line. The potatoes can sit either on a trivet above the water or directly in the water depending on whether you want steamed or boiled potatoes.
How long does it take to pressure cook whole potatoes ?
Small baby potatoes usually need 4 to 6 minutes at high pressure with a quick release, while medium whole potatoes may require 8 to 10 minutes. Large russet potatoes for baked style results often need 10 to 14 minutes plus a short natural pressure release. Always test one potato with a fork after opening the cooker and add 1 or 2 extra minutes if necessary.
Should I use quick release or natural release for potatoes ?
Use a quick pressure release when you want firmer potatoes for salads or roasting later in the oven. Choose a natural pressure release of about 5 to 10 minutes when you prefer softer potatoes for mashing or baked potatoes. The slower pressure drop lets the interior finish cooking gently and reduces the risk of splitting skins.
Can I cook potatoes and chicken together in the pressure cooker ?
Yes, you can cook chicken and potatoes together successfully if you match the sizes and cooking time. Boneless chicken thighs pair well with medium potato chunks at 8 to 10 minutes on high pressure, followed by a short natural release. Place the chicken closer to the water and the potatoes on a trivet above to keep textures balanced.
Why are my pressure cooked potatoes mushy or falling apart ?
Mushy potatoes usually mean the cook time was too long for the size of potatoes or the variety used. Waxy potatoes hold their shape better for boiling, while russet potatoes soften quickly and suit mashed potatoes or baked potatoes. Reduce the cooking time in minutes slightly next time and use a quick pressure release to stop the cooking more precisely.