Understanding Your Instant Pot's Yogurt Function
Discovering the Yogurt Function
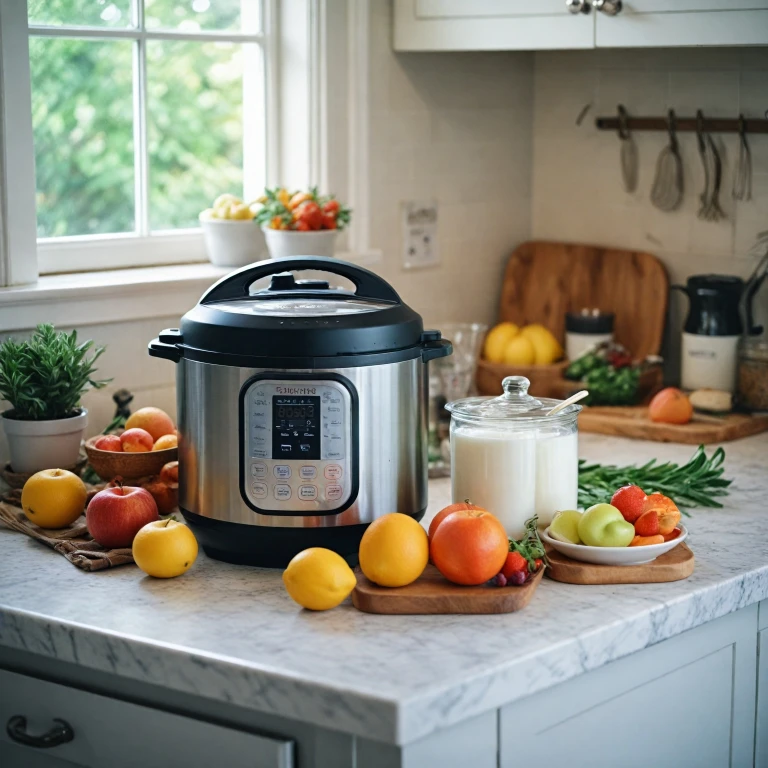
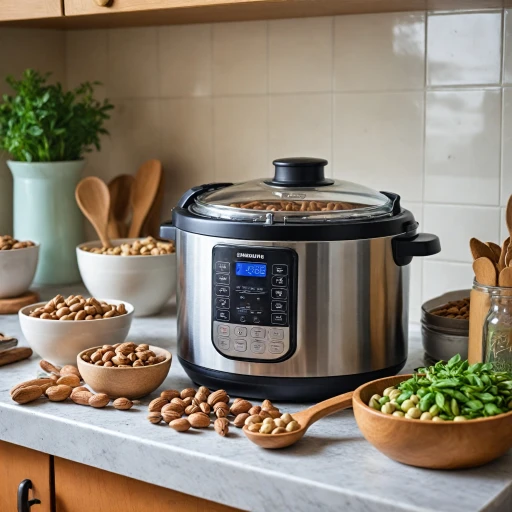
The Instant Pot's yogurt function opens up a world of culinary creativity for enthusiasts looking to craft their own homemade yogurt. This feature is designed to simplify the process of turning milk into creamy, delicious yogurt. Understanding how to use this function effectively is key to achieving the perfect consistency and taste.
The process begins by pouring milk into the "inner pot" of your Instant Pot. Typically, whole or skim milk is preferred, but any type that suits your dietary needs will work. The "yogurt function" operates by maintaining a steady temperature, ideal for nurturing active cultures, ranging between 110-115 degrees. This temperature allows the bacterial cultures in your yogurt starter to thrive, transforming milk into thick, tangy yogurt over the course of several hours.
To use the yogurt function, secure the "lid" on your Instant Pot and use the "yogurt button" to set the desired cooking time. It’s crucial to ensure the "inner pot" is properly filled and the yogurt function is activated correctly to prevent any mishaps. After the process is complete, the Instant Pot will beep, indicating your homemade yogurt is ready for the next steps of cooling and flavoring.
Making yogurt at home not only offers control over the ingredients but also provides a wide range of customization options, including crafting your own signature "greek yogurt." This approach allows you to skip the preservatives found in store-bought varieties while enjoying a fresh, wholesome treat right from your kitchen.
For further insights on optimal times and settings using your Instant Pot, check out this informative guide: Optimal Cooking Time in Your Instant Pot.
Ingredients and Equipment Needed
Gathering Essential Ingredients and Equipment
To craft homemade yogurt with your Instant Pot, begin by assembling all necessary ingredients and equipment to streamline the process and avoid any last-minute hurdles. Here's what you'll need:- Milk: Choose between whole, skim, or 2% milk depending on your preference. Whole milk will give you creamier results, while skim milk offers a lighter texture. Ensure the milk is fresh and check its temperature, ideally bringing it to around 180 degrees Fahrenheit before cooling it back down to 110 degrees.
- Yogurt Starter: This is crucial for introducing the live active cultures needed for fermentation. You can use a small amount of store-bought yogurt with active cultures or a previous batch of homemade yogurt.
- Instant Pot with Yogurt Function: This is vital for maintaining the consistent temperature required for yogurt-making. Ensure your model has the yogurt button for optimal ease.
- Whisk and Thermometer: A whisk helps in thoroughly mixing the milk and starter, while a thermometer ensures that the milk reaches and maintains the required temperatures.
- Inner Pot and Lid: Use the Instant Pot's inner pot for heating and fermenting the milk. A lid helps maintain the temperature and prevents contamination from environmental elements.
- Additional Items: As an optional step for Greek yogurt, prepare a clean bowl and a fine mesh strainer or cheesecloth for straining the yogurt to achieve a thicker consistency.
Step-by-Step Yogurt Making Process
Preparing for the Yogurt-Making Journey
The journey of crafting homemade yogurt in your Instant Pot begins with a simple yet crucial step: preparing your ingredients and equipment. First, gather your preferred type of milk and a yogurt starter, such as store-bought yogurt with active cultures. Ensure your inner pot is clean and dry to avoid any contamination that might affect the consistency or flavor of your creation.
Start by pouring the desired amount of milk into the inner pot. Many enthusiasts have found success using whole or 2% milk for a rich texture, though skim milk can also be used for a lighter option. Heat the milk to about 180 degrees Fahrenheit using the sauté function, and employ a thermometer to monitor the milk degrees closely. Stir occasionally with a whisk to prevent scorching.
Cooling Down and Adding the Yogurt Starter
Once your milk reaches the optimum temperature, turn off the Instant Pot and remove the inner pot to cool. Allow the milk to decrease to approximately 110 degrees Fahrenheit, which is the perfect temperature for adding your yogurt starter without harming the active cultures. A bowl of cold water makes this cooling step quicker if you're pressed for time.
Thoroughly mix in the yogurt starter using your whisk, ensuring it's evenly distributed. This will pave the way for the yogurt to ferment properly, transforming the milk into creamy goodness over the next few hours.
Activating the Yogurt Function
Return the inner pot to the Instant Pot, secure the lid, and select the yogurt function. Set the desired incubation time by adjusting the time on the yogurt button. This process will typically take around 8-12 hours, varying based on the preferred thickness and tartness. Just remember that longer periods tend to yield thicker, tangier yogurt reminiscent of Greek yogurt.
Once completed, the yogurt will be ready to chill in the refrigerator. Simply remove lid and transfer into a separate container; a black top or any other lid will suffice. Allow it to cool and firm up for several hours before serving or flavoring as per your recipe.
For those curious novices eager to explore further Instant Pot recipes, you might find mastering coconut rice with an Instant Pot another exciting adventure to embark upon.
Troubleshooting Common Issues
Troubleshooting Tips for Yogurt Making with Instant Pot
Making yogurt at home using your Instant Pot can be a rewarding experience, but sometimes things might not go as planned. Here are some common issues you might encounter and how to address them:- Yogurt Didn’t Set: If you find your yogurt didn’t thicken, it could be due to insufficient active cultures in your yogurt starter. Ensure your starter yogurt has live and active cultures. Also, double-check that the milk was heated to the correct degrees and the yogurt function was used properly.
- Runny Consistency: A runny texture may occur if the milk is cooled to an incorrect temperature before adding the starter. Make sure it's around 110 degrees before mixing the starter into the milk. Using less starter than recommended in your recipe can also result in a less firm yogurt.
- Tartness Level: The tartness of your homemade yogurt is influenced by the incubation time. If your yogurt is too sour, reduce the fermentation period. Conversely, for less tartness, extend the hours your pot yogurt spends in the Instant Pot.
- Scalding Issues: If milk is scorching, it’s crucial to use the proper instant pot settings. Before pressing the yogurt button, fill the inner pot with milk and whisk frequently during boiling to prevent scalding.
- Greek Yogurt Problems: If transforming your yogurt into Greek yogurt by straining doesn’t yield the desired thickness, try using a fine mesh strainer or a special yogurt straining cloth. You must ensure the temperature and time during the yogurt preparation are accurate to achieve optimal consistency before straining.
Flavoring and Storing Your Yogurt
Enhancing the Taste and Longevity of Your Yogurt
Once your yogurt has successfully formed, flavor and storage are crucial steps to ensure your homemade yogurt is both tasty and lasts as long as possible. Here's how:- Flavor Additions: After you remove the lid from your Instant Pot, consider the flavoring to enhance your yogurt's taste. You may add pure vanilla extract, fresh fruits, honey, or even a spoonful of jam. Stir carefully using a whisk to ensure the flavors are evenly distributed without disturbing the yogurt’s texture.
- Greek Yogurt Twist: For a thicker consistency resembling store-bought Greek yogurt, strain the yogurt in a fine mesh sieve or through a cheesecloth. This process allows the excess whey to drain out, giving you a creamier texture. Store the strained yogurt in a bowl in the refrigerator if you want to keep it chilled.
- Proper Storage: To keep your yogurt fresh, transfer it to clean glass jars or airtight containers. Ensure the yogurt is sealed properly before placing it in the fridge. Homemade yogurt will generally stay fresh for up to two weeks.
Health Benefits of Homemade Yogurt
The Nutritional Edge of Making Your Own Yogurt
Crafting your own homemade yogurt in an Instant Pot doesn't just yield a delicious treat; it unlocks several health benefits that are well worth considering. The process is simple and allows you to control everything from the type of milk used to the yogurt cultures, ultimately impacting the nutritional content and quality of your yogurt.
First off, homemade yogurt is rich in probiotics due to the active cultures added to initiate fermentation. These beneficial bacteria support digestive health, enhancing gut efficiency and boosting immunity. By using a store-bought yogurt starter with active cultures or even a scoop of your favorite previous batch, you ensure a robust probiotic content.
Moreover, preparing yogurt at home allows you to select the milk of your choice, such as skim milk, whole milk, or even alternative milks. Each option provides a different nutritional profile. For instance, using skim milk results in a yogurt that is lower in fat but still packed with essential nutrients.
Another significant perk is the sugar control when compared to store-bought varieties. Many commercial yogurts contain added sugars, which contribute to unnecessary calorie intake. With homemade yogurt, you decide the sweetness, if any, by incorporating natural sweeteners like honey or fruits after the yogurt is set.
Finally, homemade Greek yogurt, which you can achieve by straining the yogurt through a fine mesh or cheesecloth, offers even more protein than regular yogurt. This type of yogurt is ideal for those looking to increase their protein intake, particularly crucial for muscle repair and overall health.
In conclusion, by choosing to make yogurt yourself, you gain the advantage of tailoring it to your dietary needs and preferences, all while enhancing its health benefits. Each bowl serves up a dose of nutrition tailored perfectly to your liking.

